Event Planning
At Reventals, we’ve helped thousands of event planners find everything they need for hundreds of different events. These range from big corporate gatherings and school carnivals to charity galas and private parties. Now, it’s time to share our expertise.
Whether you’re organizing the yearly office holiday party, a big conference, or planning a school carnival with a big budget for the first time, we’ve got you covered. Our tools and resources will give you all the info you need to pick out the perfect rentals for your Austin event.
We’ve got tons of great information to share on event planning, so feel free to use this table of contents to jump to the information you need!
Resources & Calculators to
Make Event Planning Easier
Ultimate Guides for Event Planning
Best Practices for Event Planning
Budgeting for an Event
One of the most important parts of planning an event is nailing down how much money you have to spend on things like tables, chairs, tents, food, games, music, and activities. How your budget looks depends on what kind of event you are planning, and whether you are a part of an organization or simply planning a backyard barbeque.
However, there are still some best practices that all event planners can use when ironing out their budget:
Begin your budget planning as soon as possible. Early planning gives you a clear picture of potential costs and allows you to adjust your plans according to your budget. Be realistic about what you can afford to avoid stretching your finances too thin.
Identify what’s most important to your event and allocate your budget accordingly. Not everything needs a big portion of your budget, so decide what you can scale back on or eliminate.
Keep an eye on your budget and expenses as you plan. If you’re approaching your limit in one area, find ways to cut back in another. Flexibility is key to staying within budget.
Keep a detailed record of all expenses. This includes quotes, receipts, and invoices. Tracking helps you stay within budget!
Common Rentals for All Events
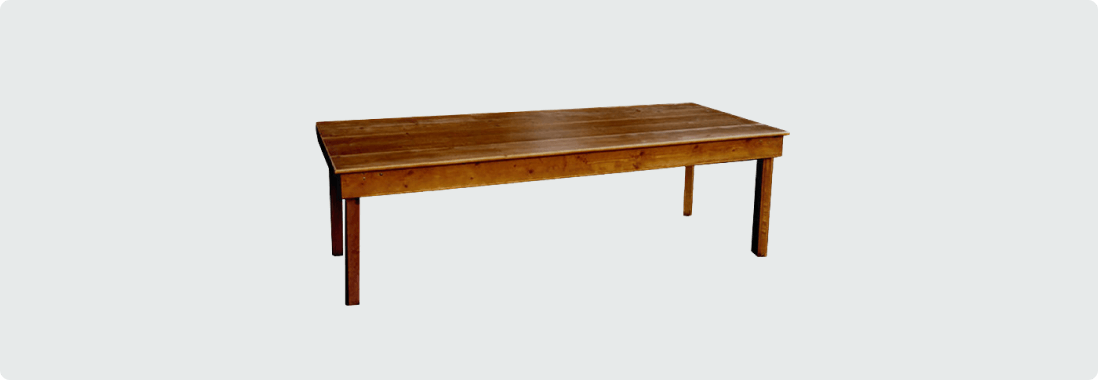
To maximize space and accommodate the most guests, 60″ round tables are often your best bet. These tables typically seat 8 people comfortably, but with a bit of adjustment, you might fit up to 10.
For more details and options on table rentals, take a look at our Table Sizes & Seating guide.

While plastic folding chairs are the most budget-friendly option, they might not offer the sturdiness you’re looking for. As an alternative, we suggest considering resin chairs. They’re still affordable and provide a more durable seating option. If your event theme allows for a bit of splurge, opting for fancier chairs can significantly enhance your decor.
Check out our Chair Rentals Blog for a rundown on the best chair rental options, complete with descriptions and pricing.

Except for farm tables, it’s essential to cover all rented tables. Skimping on linens is a big no-no! The most cost-effective option is polyester tablecloths. If you’re aiming for a particular theme or a special look and feel for your event, specialty fabrics can make a significant difference, though they can be pricey.
It might be worth comparing the cost of buying versus renting linens, but remember to factor in the time and expense required to press and clean them before and after your event.
If you’re unsure which linens you need for your tables, check out our guide on linen sizes.

Your choice of dinnerware should reflect the style of your event, whether it’s a formal dinner, a casual gathering, or something that suits a buffet line. You can find guidance on setting up both formal and informal tables here, and you can find an overview of what different place-setting rentals might cost here.
Keep in mind that some rental companies may require you to clean the dinnerware before returning it, although all companies will at least expect you to rinse off food particles. For outdoor events, consider how and where you’ll be able to rinse dishes at the end of the night. If this poses a significant challenge, you might want to think about using eco-friendly disposable options instead.

For versatility, we suggest choosing a multi-purpose glass like a highball or old-fashioned, which works well for water and most cocktails. We offer additional options for popular glassware types, too.
If you need help determining how much alcohol to buy and how much barware to rent, we have resources to guide you through these decisions.

Our most popular concession rentals include a variety of options, but in Austin, margarita machines top the list. If you plan to sell food at your event, remember that you’ll need a food permit.
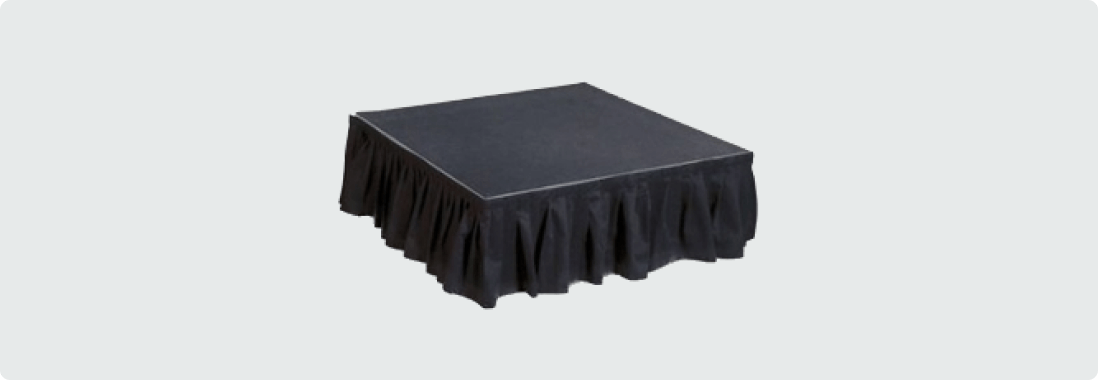
Setting up a stage requires professionals. For information on selecting the right size stage and understanding rental costs, take a look at our stage rental guide.
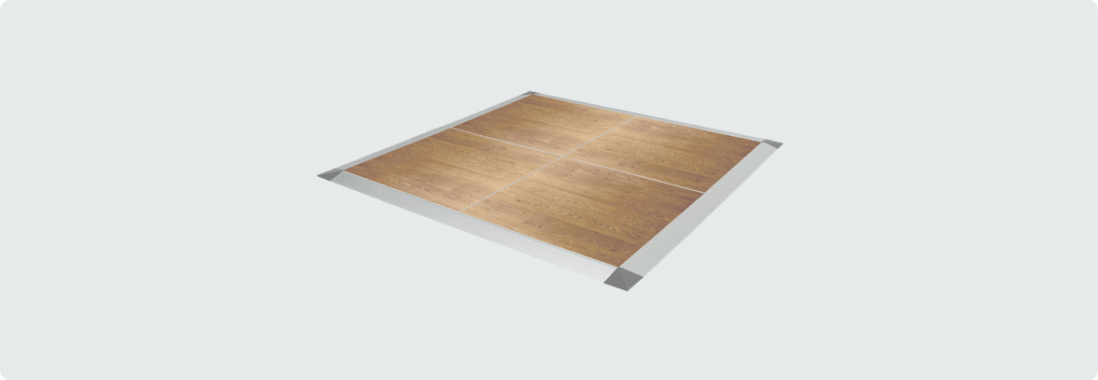
Dance floors must be installed on a flat surface. If you’re considering placing it over gravel, grass, or dirt, be prepared to rent a subfloor. This addition can nearly double the rental cost.

The specific A/V and lighting needs for your event can vary greatly depending on its size and scope. You might need a technician to assess the venue beforehand to determine exactly what equipment is necessary.
Check out our basic options.

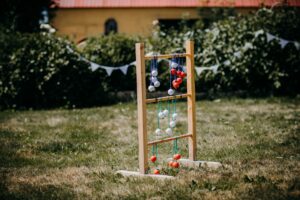
Spice up your event and get guests mingling with fun games. Whether it’s a casino night, backyard games, large inflatables, or carnival rides, there’s always a perfect game to entertain and engage your guests.

Remember, if there’s no electricity within 50 feet of where you plan to set up inflatables or rides, you’ll need to rent generators. Inflatables under 20 feet tall can be anchored with sandbags, while those taller than 20 feet must be staked into the ground.
It’s also crucial to verify your vendor’s insurance coverage to ensure it meets your business or organization’s requirements. Some situations may mean you’ll need paid attendants at each ride for adequate liability coverage.

Tents can be anchored into the ground with stakes or secured using water barrels, similar to inflatables. However, water barrels might not look appealing on their own, especially at upscale events, so consider adding covers to enhance their appearance.
To determine the right tent size for your event, use our tent size calculator. Remember, in Austin, any tent larger than 20 x 20 feet requires a permit.

Selecting the ideal furniture for your event can be time-consuming, given the variety of styles available, including LED, modern, farmhouse, and vintage options.

The most commonly rented heater is the propane mushroom-style heater. However, check with your venue first, as some prohibit propane tanks and only allow electric heaters, which may be more difficult to find. For cooling, standard floor fans are effective, and misting fans are an option if you don’t mind a bit of moisture.
Planning to heat or cool an outdoor tent? Consult with an HVAC technician to determine the appropriate system size for maintaining comfortable indoor conditions.

Basic portable restrooms are priced around $150 to rent but lack handwashing stations or lighting. For a more luxurious option, consider renting a heated or cooled restroom trailer. These upscale facilities are flushable, include sinks, and start at about $1250 to rent.

With a wide variety of photo booths now available, we consider them an essential feature for any event. Options range from enclosed and open-air booths to green screen and even snow globe photo booths. To enhance the fun, plan on including a backdrop and props. Prices for the most basic photo booths start at around $300, with more elaborate setups increasing in cost.
For tips on creating a memorable photo booth experience for your guests, explore our ideas.
Planning the Event
Putting together a great event starts with having a great team. Look for people who are excited to help and who have different skills.
Looking for vendors can take a lot of time, but using Reventals makes it super easy. Reventals is a website where you can find everything you need for your event in one place. You just add what you need to your cart, and the team at Reventals finds great vendors for you. It’s like having a team do all the hard work of finding the best deals and quality items, so you don’t have to worry.
Use social media, emails, and flyers to spread the word. Think about who you want to come to your event and try to reach them in the best way possible.
How It Works
Search for what
you need.
Add the items
to your cart.
Submit the cart, and
we’ll send you a quote!

